All Other Paper
For your viewing pleasure, this page includes:
-Ceremony Programs
-Escort Cards
-Photo Share Cards
-Table Numbers
-Car Magnet
-STDs
-Reserved Signs
-Thank You Cards
-Ceremony Programs
-Escort Cards
-Photo Share Cards
-Table Numbers
-Car Magnet
-STDs
-Reserved Signs
-Thank You Cards
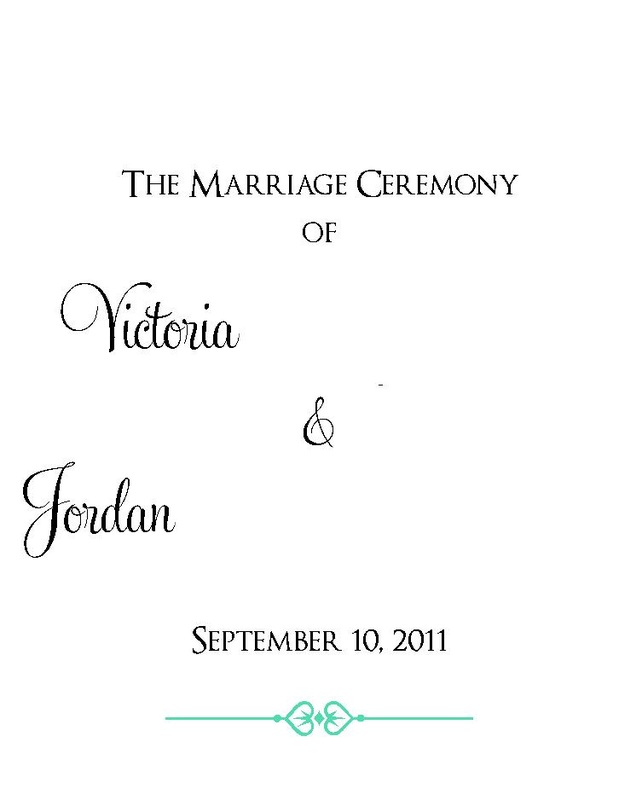
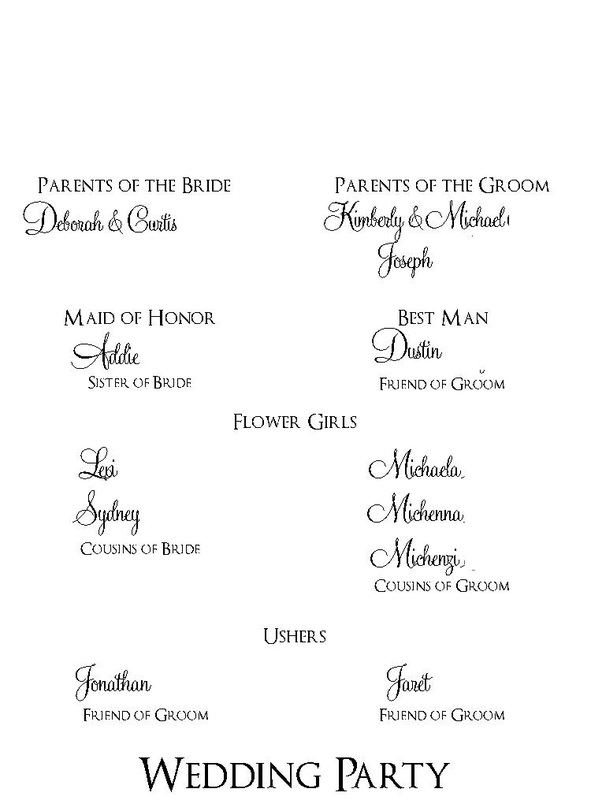
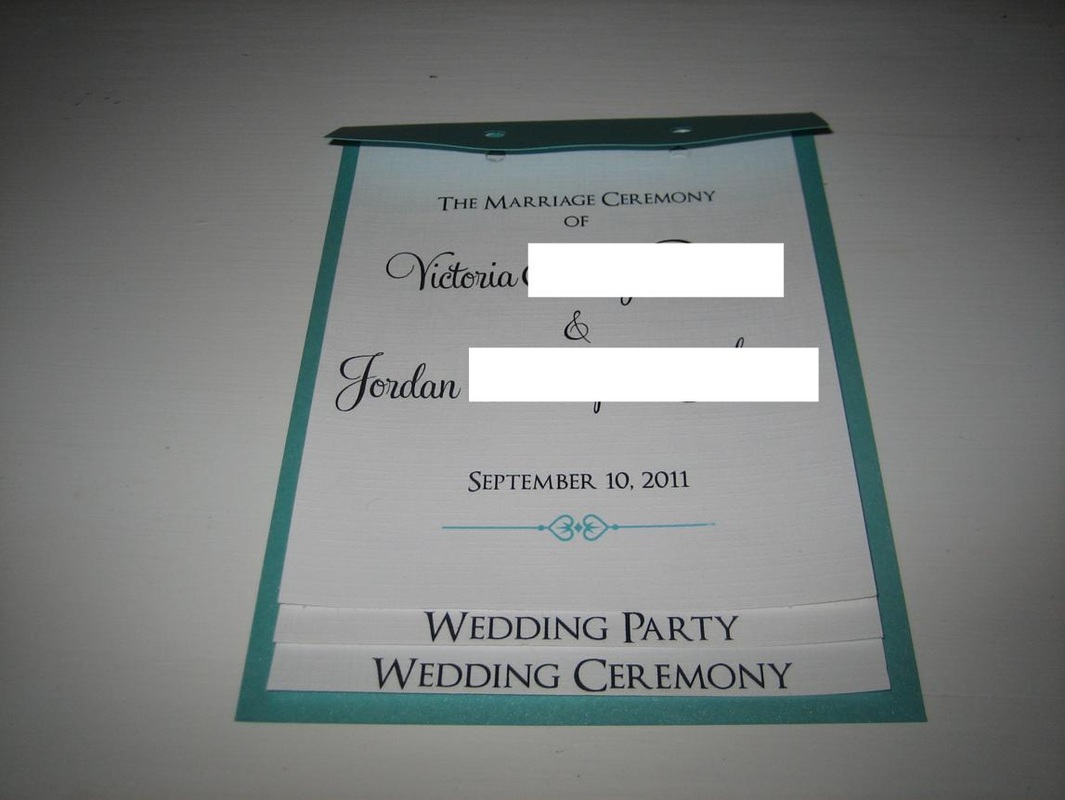
Ceremony Programs
Template available on the Downloads and Templates page.
I made layered programs. I omitted an "acknowledgments" page, probably because I'm a jerk. I'll privately thank people who need to be thanked, I don't need to broadcast it publicly. I don't want to mention deceased relatives, because it's still too painful for a lot of us to talk about recent deaths.
I made layered programs. I omitted an "acknowledgments" page, probably because I'm a jerk. I'll privately thank people who need to be thanked, I don't need to broadcast it publicly. I don't want to mention deceased relatives, because it's still too painful for a lot of us to talk about recent deaths.
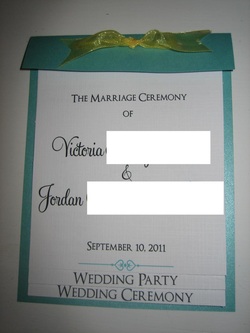
8.5x5.5 layered programs. Easiest to DIY because you just cut 8.5x11 cardstock in half

Top Layer Middle Layer Back Layer
5x6.25 5x6.75 5x7.25
5x6.25 5x6.75 5x7.25
Assembly Instructions
1. Cut the paper into the desired lengths.
2. Cut the cardstock into the desired length.
3. Score and fold the cardstock. I used the dull end of a butter knife up against a ruler.

steps 1,2,3 (ignore the fact that everything is hole punched already)
4. Line up all of the layers against the fold in the cardstock
5. Punch holes through all layers
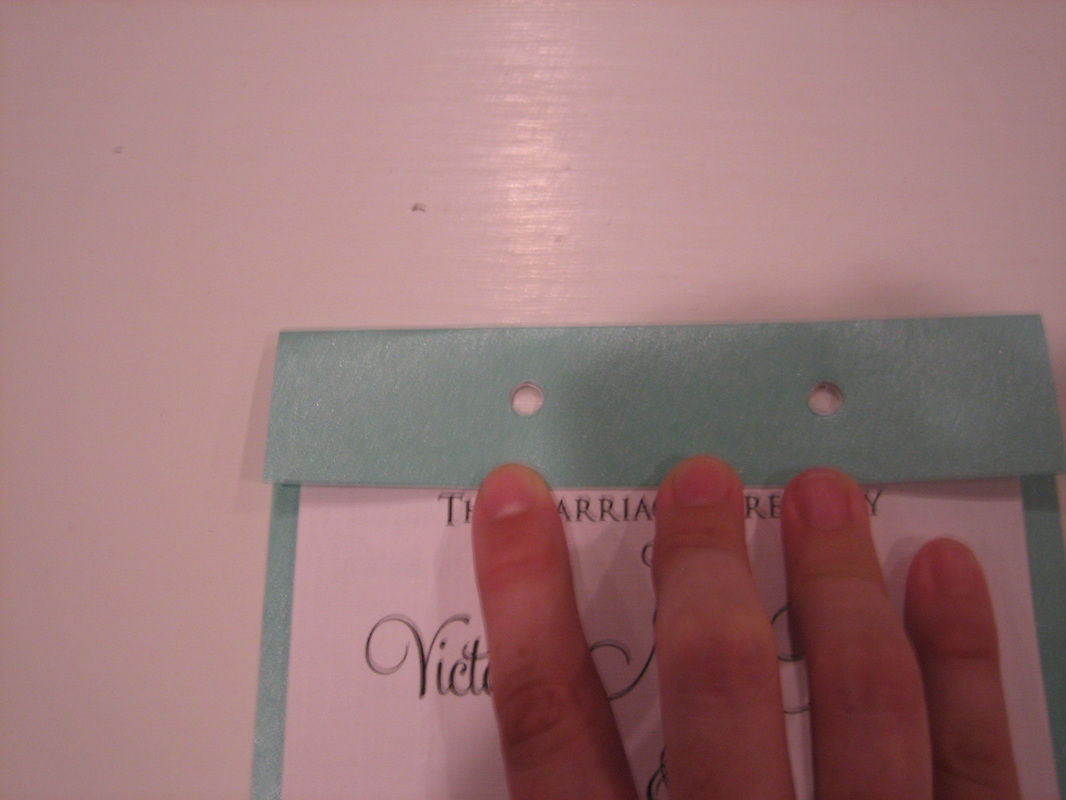
steps 4,5
6. Tie a ribbon through the holes
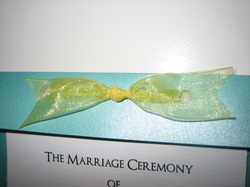
step 6
Escort Cards
Now you may be asking yourself, "Since my wedding is going to etiquette hell (because of the labels on the invitations), is there anything else I can ruin with labels?" Answer: YES!
You may be noticing that this is a similar design to the return address labels. And you are wrong, they are the EXACT same design on the EXACT same type of label- because as all of this planning progresses, I am getting increasingly lazy.
You may be noticing that this is a similar design to the return address labels. And you are wrong, they are the EXACT same design on the EXACT same type of label- because as all of this planning progresses, I am getting increasingly lazy.

Dimensions: Blue cardstock 3.25x3.5
Yellow cardstock 1x3
Name label is just an Avery address label, comes 30 per sheet
Tip: I assembled everything ahead of time (including scoring) except for the name labels and table assignments. Then when 30 more people would RSVP, I would print off a full sheet of names, and stick the name to an escort card.
When table assignments are decided, that label will get stuck on the back of the card.
They are being stored flat (see below picture) until right before the wedding, when I'll fold them and transport to the venue. It's a lot easier to store 120 flat escort cards as opposed to 120 folded escort cards.
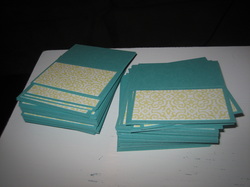
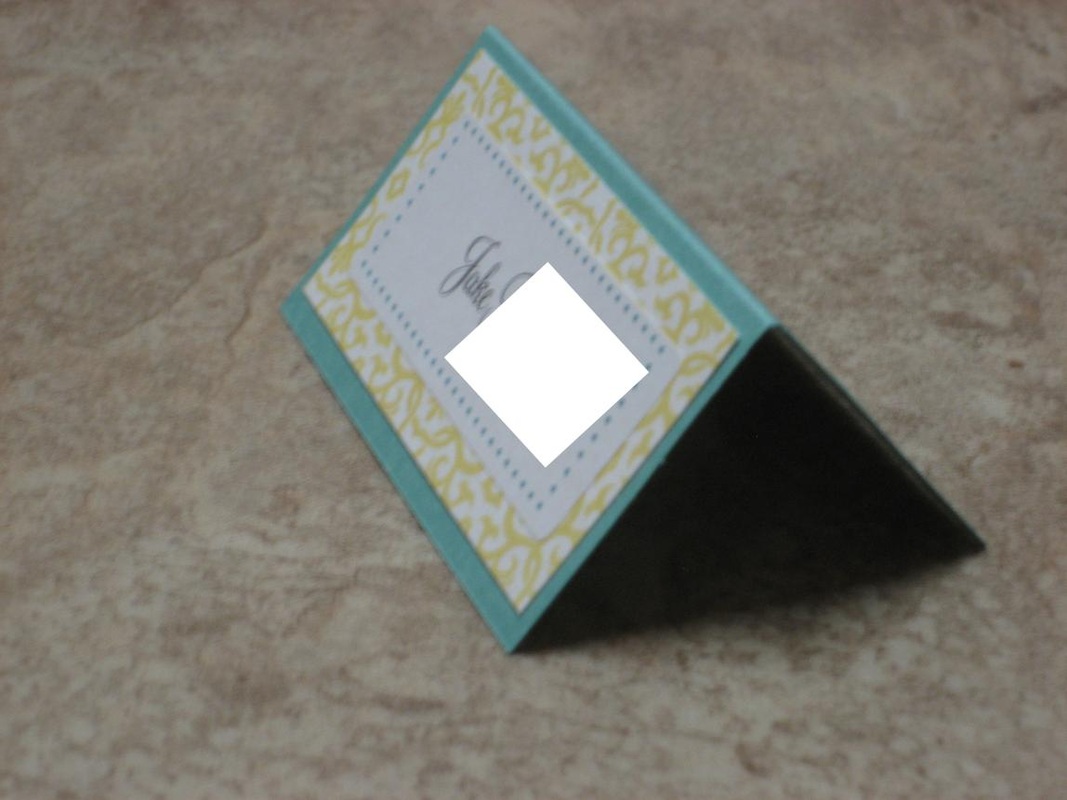
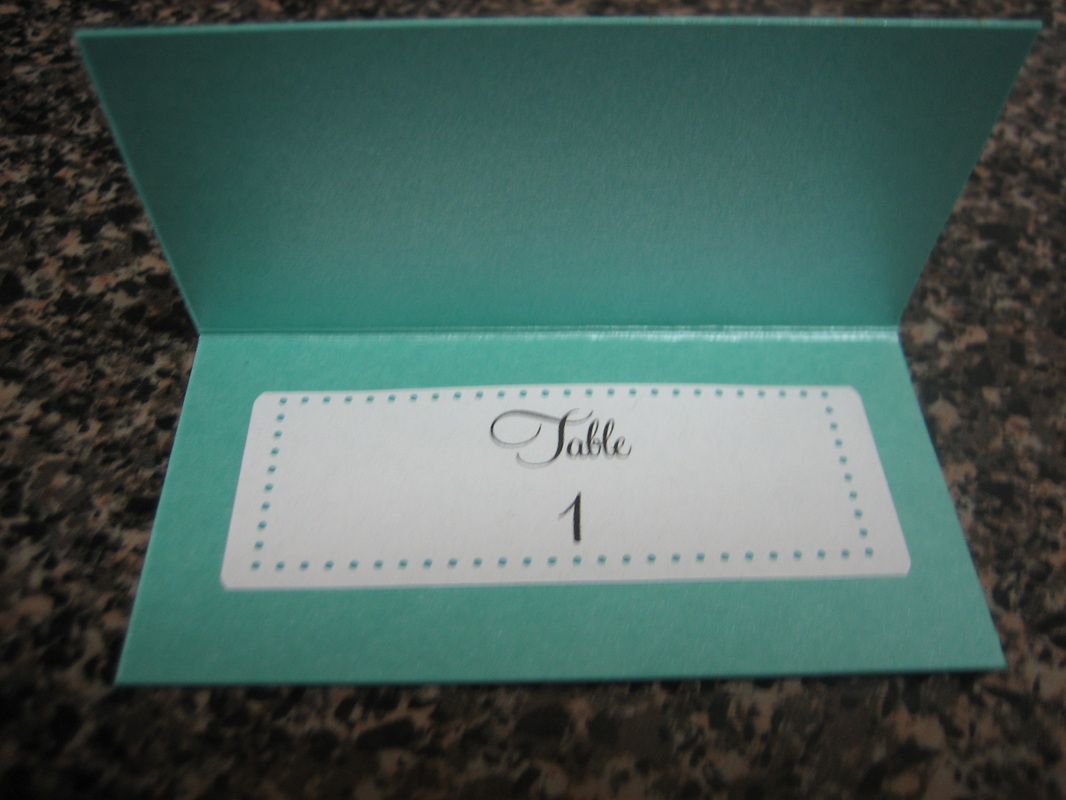
Table Numbers
hz80408's table numbers were my inspiration.
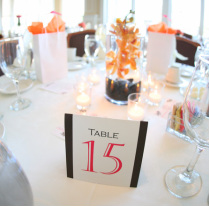
And here's what I made. Templates on the template page.
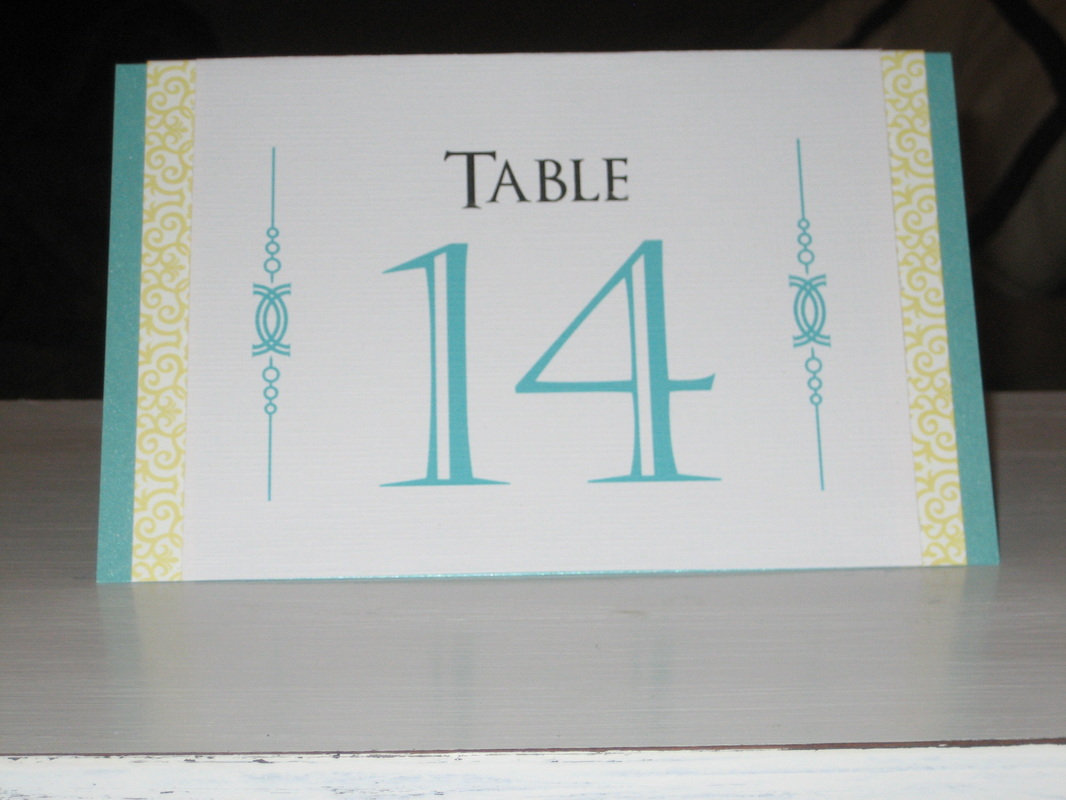
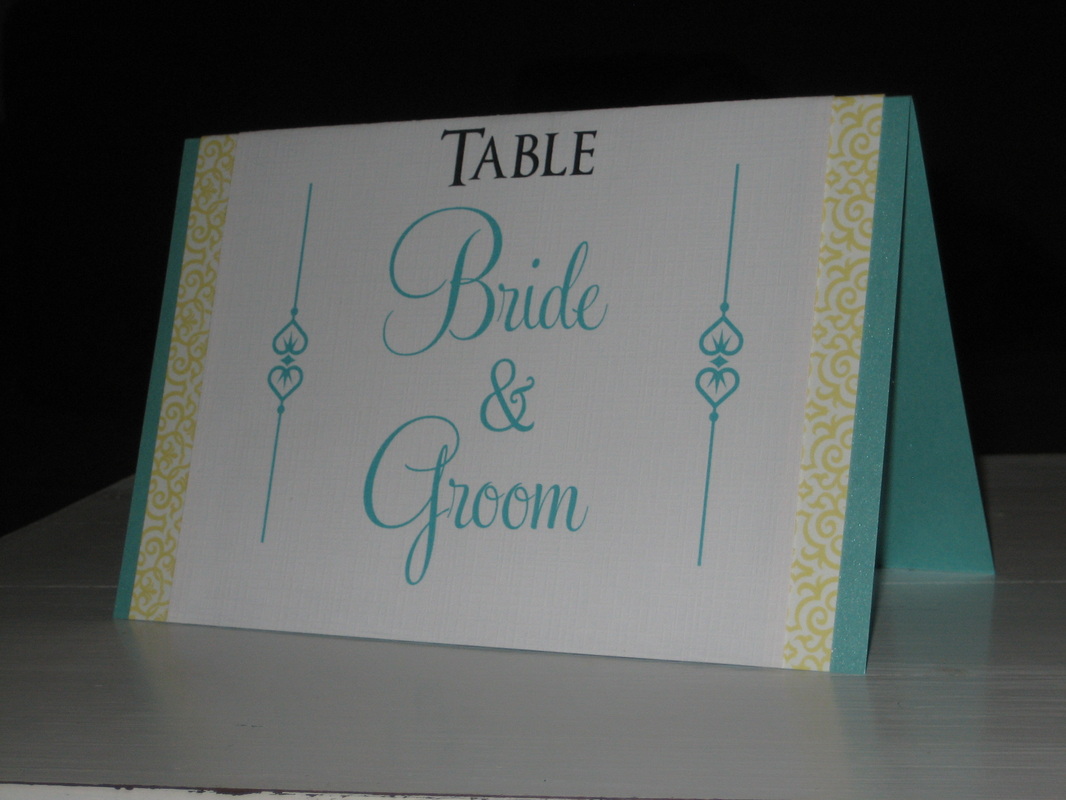
Directions
These are quite simple. The white page was formatted to print two numbers per page. I cut off about a half inch from the left and right sides. Then it's folded in half so each side of the tent displays the table number.
The blue 8.5x11 cardstock is also folded in half. Then the yellow patterned paper was cut into 11 inch strips and folded in half, then stuck on the sides to form a border of sorts.
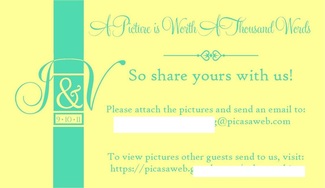
Photo Cards
VP business cards with an image I uploaded. (hey look, I found a way to use that monogram I created!) They were attached to the favors.
I went the picasa route, as opposed to shutterfly or photobucket. I figure this way, guests just send an email to the picasa email with attached pictures, and they won't have to figure out logins, passwords, or navigation of a photoshare site. Picasa automatically uploads photos with emails to the album.
***Not ONE SINGLE PERSON uploaded any pictures to the photoshare site. I later found out the servers cleared them off of the tables when they were cleaning up, so most people couldn't have taken them home, even if they wanted to.
Car Magnet
It was free from VP, so I figured what the heck. In fact, I ordered 2. (Actually, I wasn't paying attention to my cart or subtotal, and ordered 3 *grumble grumble grumble*)The vine design is from one of the download links on my downloads page - the one that says "flourishes and clip art" and it's from the power point file on that website.
Thank You Cards
I liked my car magnet design so much, I decided to use it for the thank you cards. (or my creativity is running out, whatever) It's just a postcard, and the back is blank. I'll use envelopes for mailing. Probably.

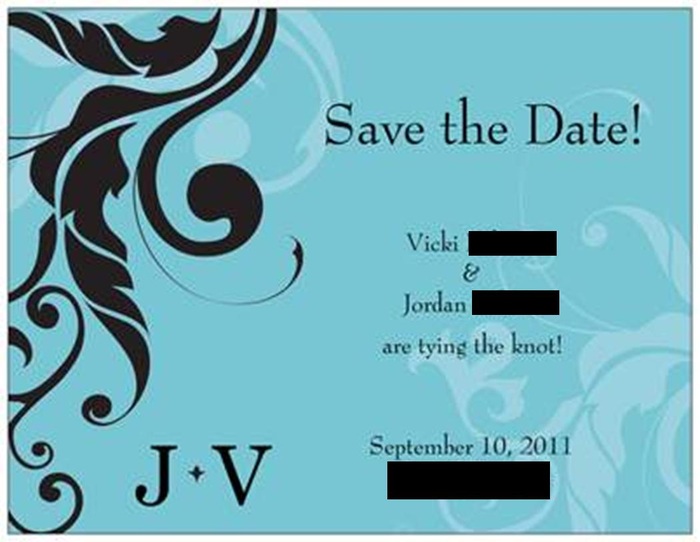
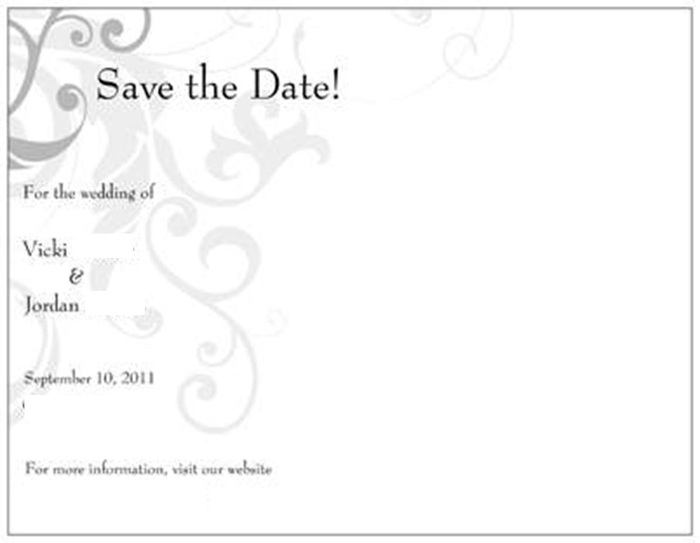
Save the Dates
I created and ordered them from VistaPrint during one of their deals for 100 postcards for free, so they were well worth the $5 in shipping.
Reserved Sign
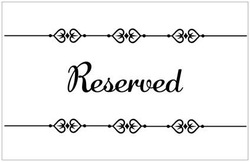
I designed it myself from VPs oversized blank postcard (for free, of course). I inserted the flourishes as pictures (they download as a font, but then I converted the font to a .jpg using Microsoft Publisher, but it can be converted in PowerPoint also). The flourishes are from this website, under the Separates Font. Even if you don't like this flourish, I highly recommend this font.
